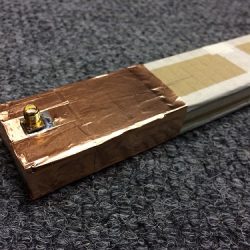
Homemade Waveguide Antenna for FPV Racing Timing Gate
2 CommentsIn the past few years, FPV racing has quickly grown into a competitive sport. As a result, it has become necessary to keep track of lap times. Time-keeping is usually done using IR transmitters and receivers. However, this timing can be done without adding extra IR or RF beacons. By making use of the already […]Read More »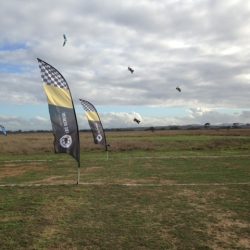
FPV Quadcopter Racing
No CommentsAfter slipping into the world of quadcopters a few years ago, mostly for research purposes, I recently stumbled across a sport called FPV racing. This activity most commonly involves a small quadcopter equipped with a forward facing camera. The pilot then straps a monitor to his face and attempts to fly a designated race track. Think Red […]Read More »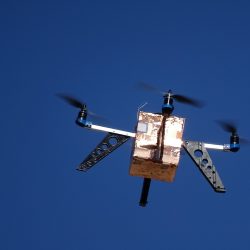
Birth of FEMU 2.0
No CommentsAs part of my PhD research, involving the characterisation of the propagation environment at the SKA Karoo, time was spent developing a multi-copter RF metrology vehicle. A dramatic autopilot failure in our early prototype caused a the multi-copter to fly away forever. This event gave us a clean slate to do a full redesign upon what […]Read More »
Don’t Leave Me…
No CommentsSince the last post, we have completed a year of successfully RF measurement campaigns. Sadly, the quadcopter featuring in the previous post (FEMU 1.0) underwent an autopilot failure during a measurement dry-run which caused it to fly straight up into the air until its battery died. It has never been seen since. This forced us […]Read More »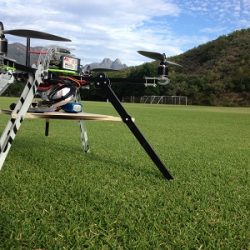
New Set of Legs for SKA Measurements…
No CommentsWith a lot of help from a friend, Johan Frank, new legs and a platform was built for the quad copter. These legs allow for an antenna to be mounted below a platform supporting a spectrum analyzer and single board computer. This platform was specifically built for a measurement campaign at the SKA site which […]Read More »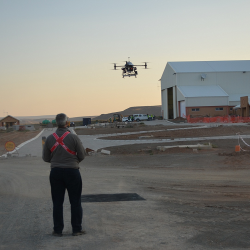
RF Propogation Measurements Over a Berm with the Use of a Multicopter
No CommentsThe RF shielding effect of a berm was measured using a Multi-copter as part of my PhD program. LS of SA from LS telecom generously helped us with these measurements with their own Multi-copter measurement platform. The measurements were done with a transmitter located on the far side of the berm transmitting 9 vertically polarized frequencies, […]Read More »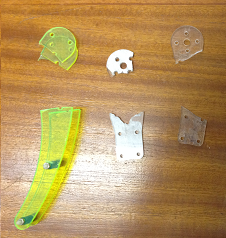
Crashed…
No CommentsAfter flying in loiter mode for a while the quad-copter suddenly flipped over. I immediately switched to Stabilize mode and increased throttle in an attempt to save the situation. It stabilized itself just before hitting the ground but sadly had too much horizontal velocity. As a result, the quadcopter snagged and rolled in spectacular fashion. The […]Read More »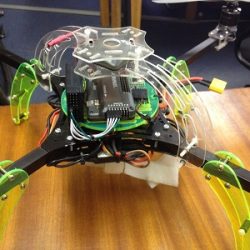
Upgrading to APM2.5…
No CommentsUpgraded to the APM 2.5. Height and GPS accuracy are significantly better than the APM 1.0. The APM 2.5 also has a much higher telemetry data throughput due to some of the signal processing happening off of the Atmel chip. Below is a photo of the new neat setup containing the APM 2.5.Read More »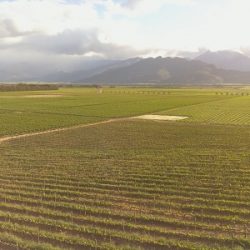
Stellenbosch From Above…
No CommentsAfter receiving my raspberry pi camera, I thought it to be a good idea to take some aerial photos with the quadcopter. The first few photos are from Stellenbosch University campus followed by the last few which are from a farm near Worcester, South Africa.Read More »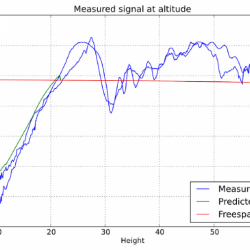
First Diffraction Measurement with fEMu
No CommentsAfter getting the quadcopter to fly in loiter and auto missions with confidence, it was decided to use the quadcopter for measuring RF signal propagation. This measurement was done with a transmitter on one side of a 13m high human-made berm. Flying a vertical path up to 50m on the far side measuring the diffraction of […]Read More »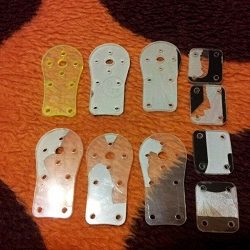
Quadcopter First Successful Loiter…
No CommentsAfter the vibration issues were sorted out it was time to test the loiter and auto modes. A video of the first successful loiter test can be seen below. The APM 1.0 seems to hold its position reasonably well given that there was a slight breeze that day. The quad-copter was also instructed to land […]Read More »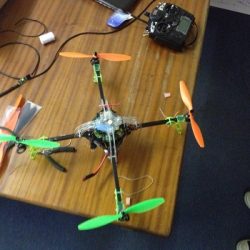
Maiden Flight….
No CommentsAfter the quadcopter was fully assembled including ESC’s, accelerometers and radio calibrated it was ready for its maiden flight. This flight was carried out at the back of our Engineering building, Stellenbosch, on an insufficient piece of grass. A short video from the flight can be watched below. After some time flying the altitude hold function was tested which seemed to work. However, […]Read More »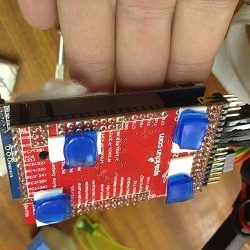
Bad Vibrations…
No CommentsAfter a number of flights in stabilize mode with a very stable vehicle, it was decided to test the rest of the flight modes. Our goal was to build this into a measurement platform which necessitates the use of the auto modes. Therefore, we went to an open test field near Stellenbosch where we switched […]Read More »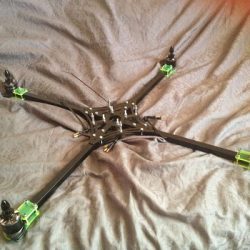
Motors and final assembly…
No CommentsAfter a long break moving to another city, I restarted my efforts on the quadcopter build. This time adding the motors and finalising the construction to the point of a maiden flight. Some changes to the previous thought process were incorporated: channelling the high current ESC wires through the aluminium tubes. The latter meant disassembling the whole quadcopter. The […]Read More »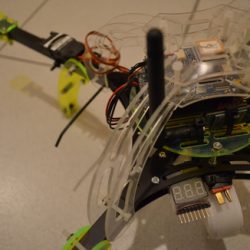
Assembly of Power, Sensors, and Communication…
No CommentsBefore being able to do some wireless tests, the sensors and telemetry radio need to be powered. In this first phase of assembly, the power distribution board, IMU board along with the telemetry was mounted on the frame. Thereafter a single electronic speed controller was connected to power the IMU board and radio. As of […]Read More »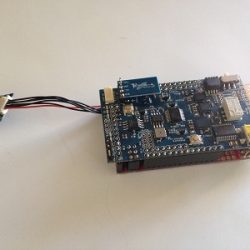
The Compass…
No CommentsAnother sensor needed during navigation and control was added to the IMU board. This sensor, a magnetometer, is responsible for measuring the orientation using the earth`s magnetic field. In a plane setup, the current heading can be easily determined by making use of consecutive GPS measurements. On the other hand, a quadcopter does not need to stay […]Read More »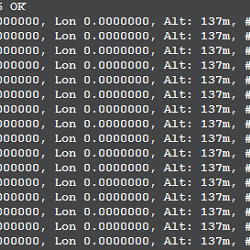
GPS Take 2…
No CommentsA new GPS arrived today, all the way from 3DRobtics, as a replacement for my previously dead on arrival GPS unit. This time around the GPS worked as soon as it was plugged in and even started acquiring satellites from indoors.Read More »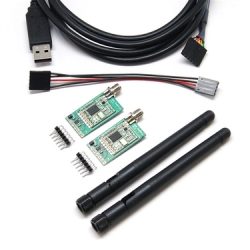
The Telemetry…
No CommentsFor this project a constant data communication will be needed from the vehicle and its payload to a ground station. Therefore, a telemetry radio needs to be present. Fortunately, the APM 1 kit discussed earlier makes provision for a telemetry module. The telemetry modules I opted for was from 3DRobotics running at 433MHz 100mW. Due […]Read More »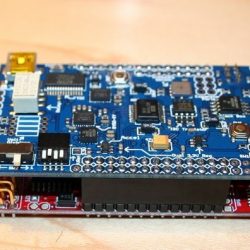
The Flight Controller…
No CommentsThe flight controller is the brain of the vehicle and will contain most of the essential sensors. To save time I opted for a Ardu-Pilot Mega 1.0. The main reason why I opted for the 1st generation and not the newer second generation is to have the option of replacing the 8 bit micro-controller with […]Read More »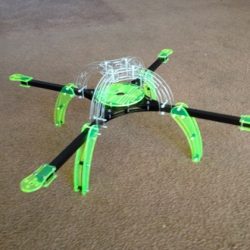
The Frame…
No CommentsThe NXF-4 frame was bought from Netram in Durban (now in Cape Town), South Africa. It took 24 hours from order to delivery which I was quite impressed with. After it was delivered it took me a couple of hours to assemble with some spare parts. All in all the frame feels sturdy and has an interesting colour scheme. […]Read More »