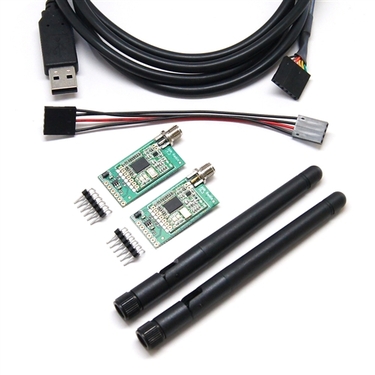
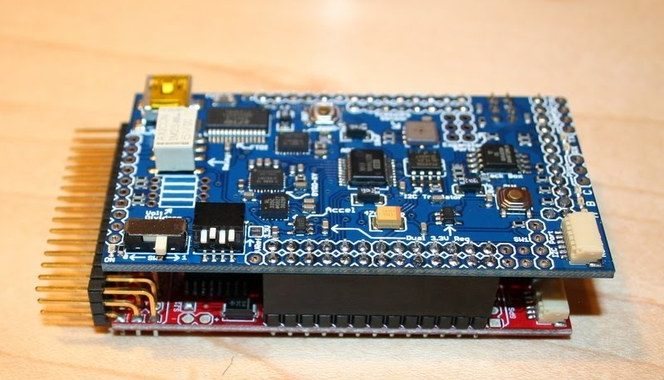
For this project a constant data communication will be needed from the vehicle and its payload to a ground station. Therefore, a telemetry radio needs to be present. Fortunately, the APM 1 kit discussed earlier makes provision for a telemetry module. The telemetry modules I opted for was from 3DRobotics running at 433MHz 100mW. Due to ICASA regulations, these radios can only be used at 8mW maximum. This should be more than enough.
Category Archives: Projects
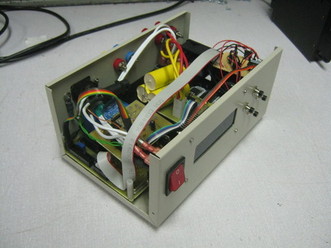
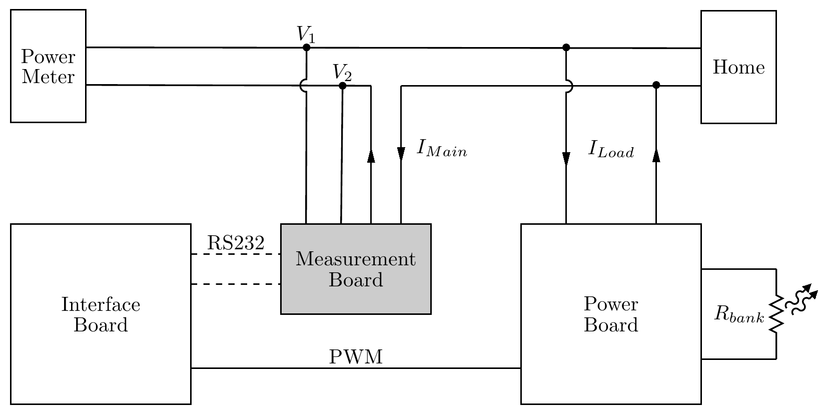
Energy waster (Final year project)
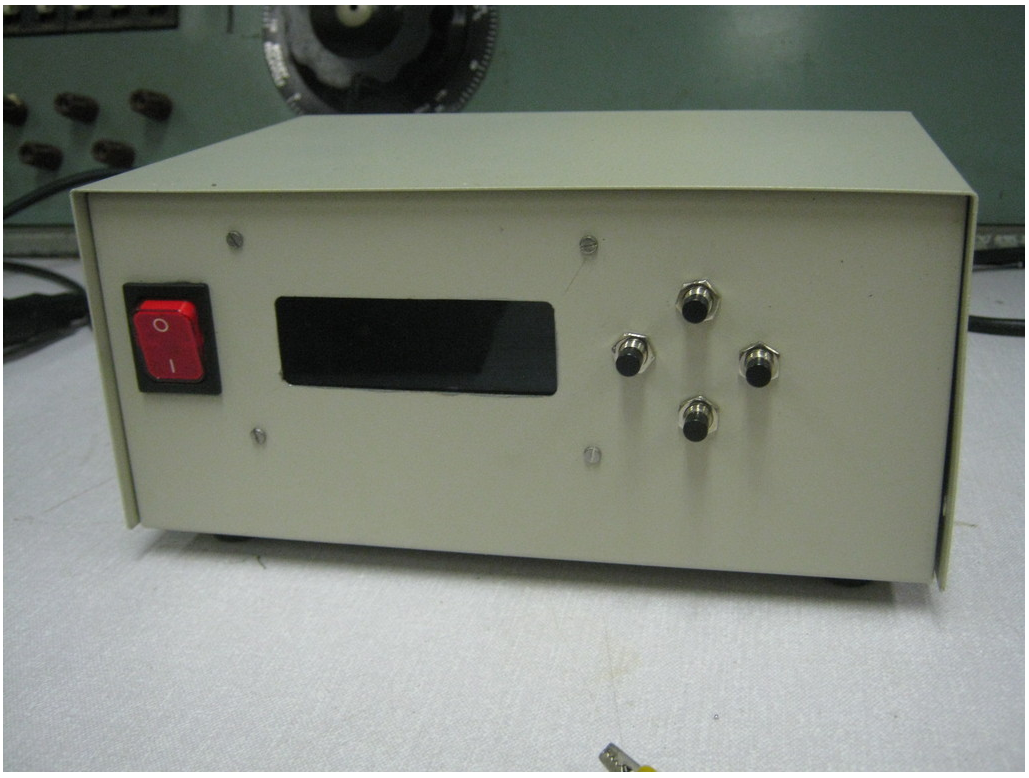
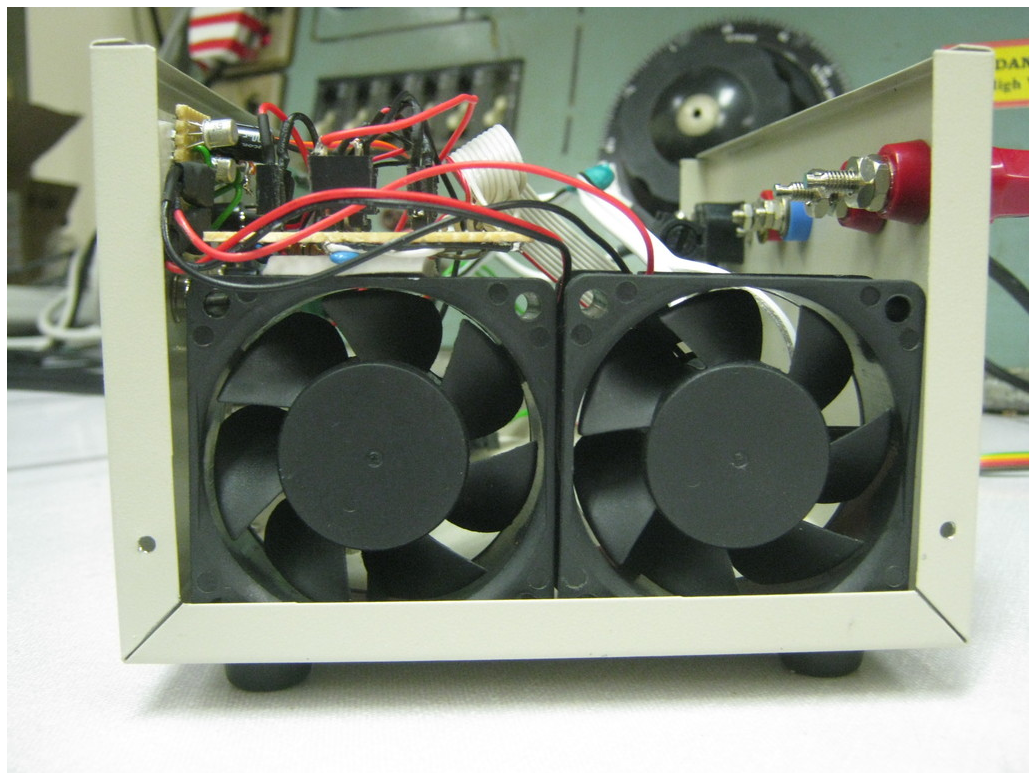
This was my final year project for my BEng degree. The idea for this project came from the problem that certain South African prepaid meters bill the residence for the power they generate into the grid. This project investigated a temporary workaround for this problem, by diverting the net outflow of power into a resistor bank, the extra cost would then be minimized. This project consisted of some simple power electronics, C programming for the micro-controller and some electronic system design.

SCADA for Windtunnel Project
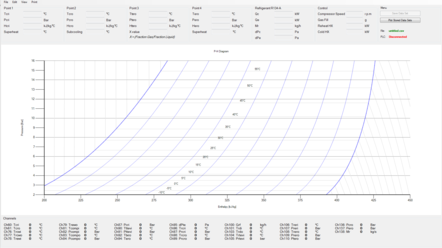
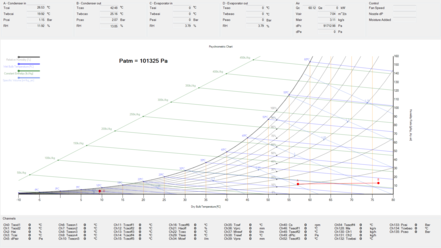
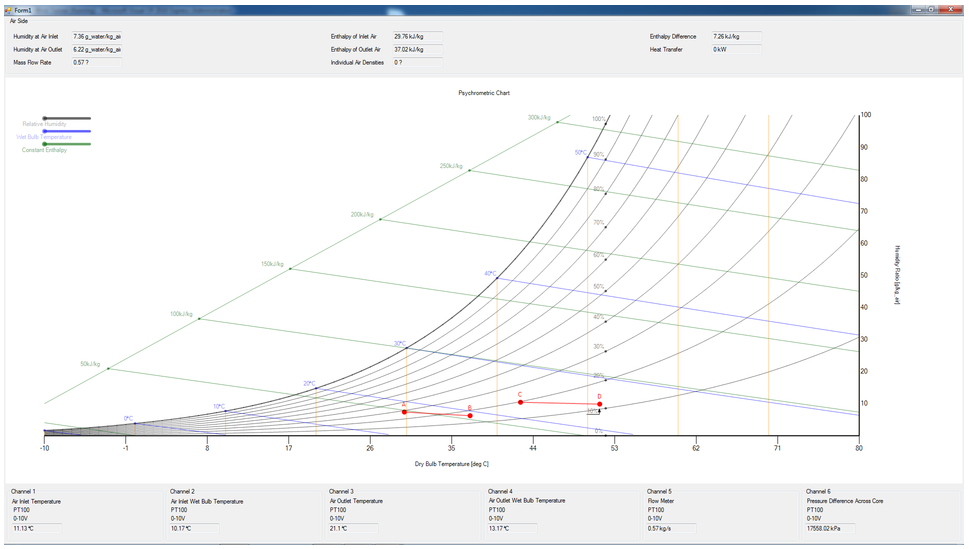
This project was done by myself for a company called TFDesign, the software is in phase 1 at the moment and is capable of reading data from a Siemens PLC, processing the data with some thermodynamic libraries and finally plotting the data on a psychometric and pressure-enthalpy graph. The software has extra functionality such as the saving of points, saving the current workspace and fading points to show the trend of the graphs. This project was written in C#. This project, however, is not open source, so I can only offer screenshots.
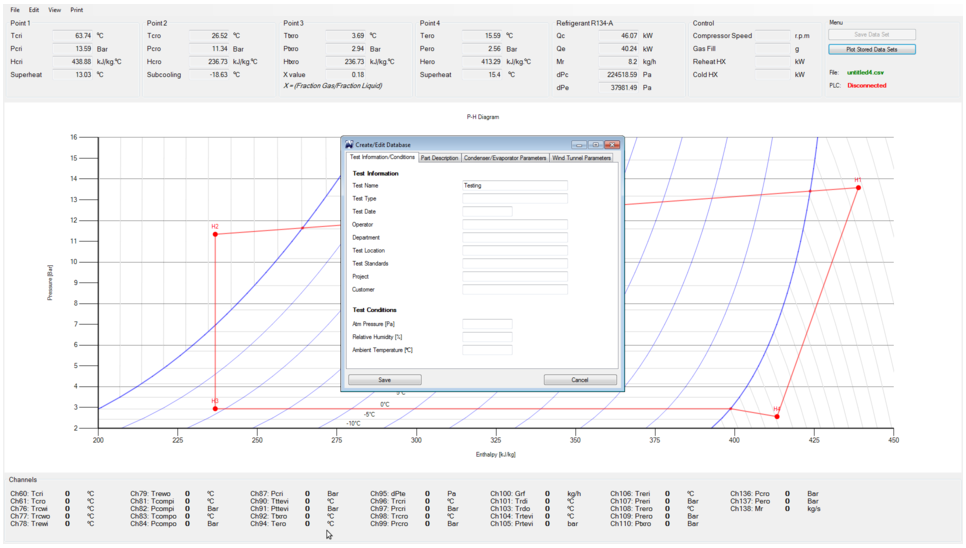
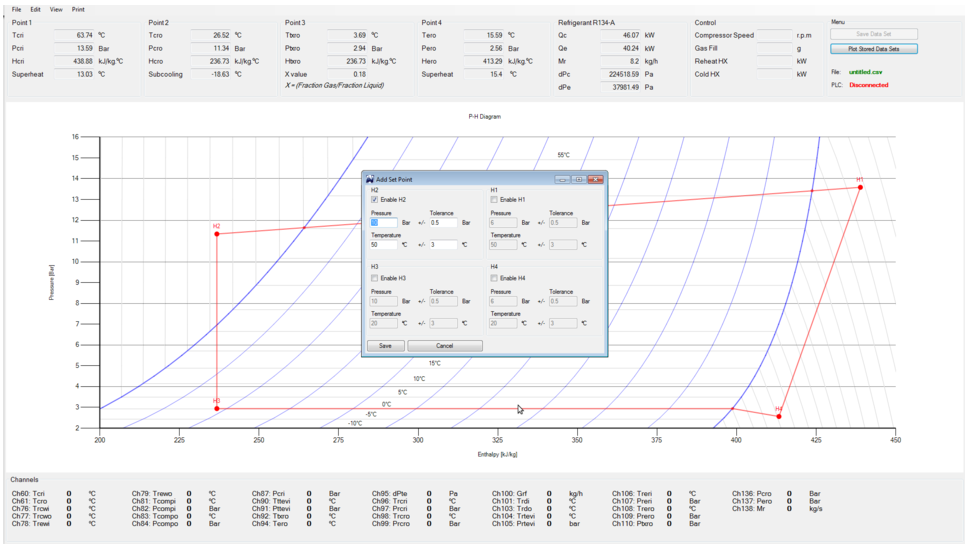
The project software has the capability to set certain “set points”, save current data as well as generate performance plots with the saved data. The set points is for the user to know where he wants the data points to move to. When at these certain set points the user can save the data to be later used in generating performance plots. The software starts on 2 HD resolution screens and immediately starts plotting the data read from the PLC.
Here are a few more screenshots. This was my first big commercial programming project which turned out quite well. The program is still in use at 2 facilities and has been handed over to the company for small updates and maintenance.

Heat Exchange Calculator
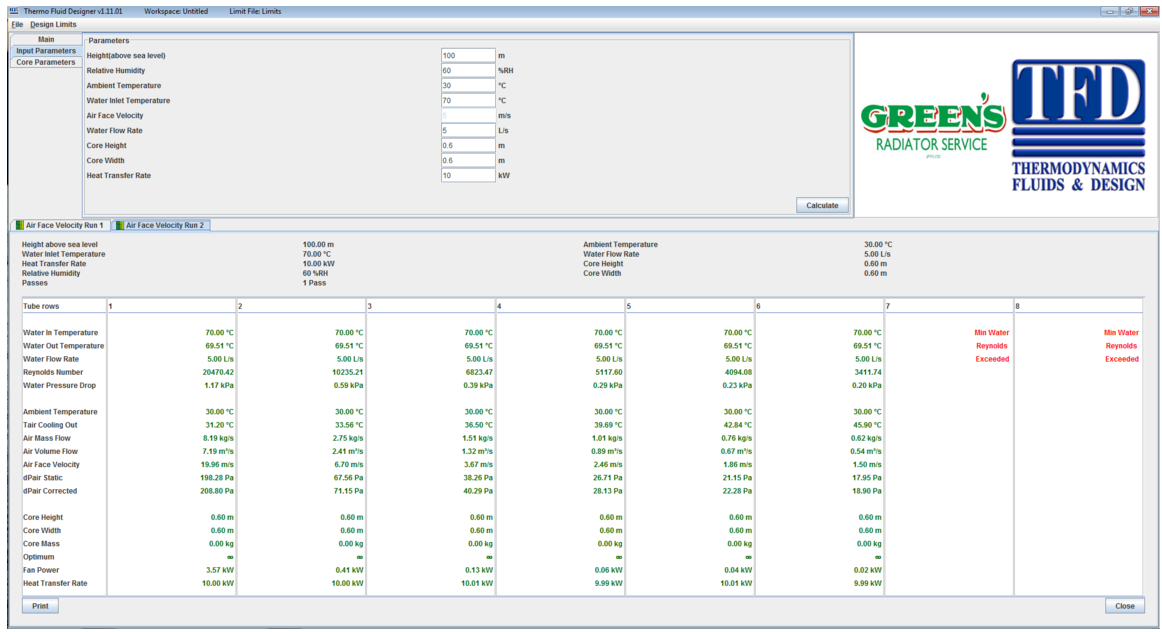
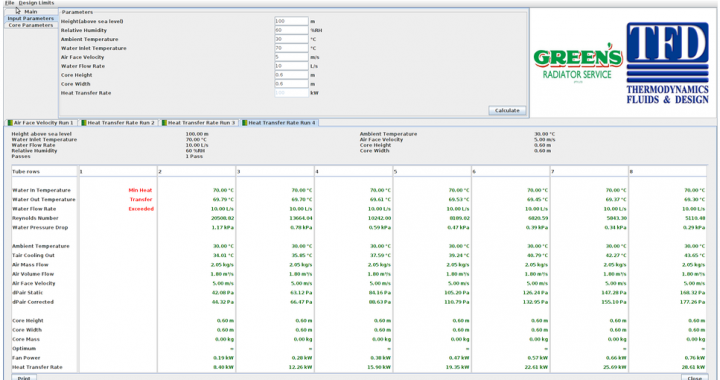
This is a project I did for a company called TFDesign. The software is used to calculate certain parameters of a Heat Exchanger given certain specifications. The calculation runs over a given amount of heat exchanger rows to help the user determine the optimum design. The project was written in java to enable its use over multiple platforms. However, the software is not open source, but screenshots are available on this page.
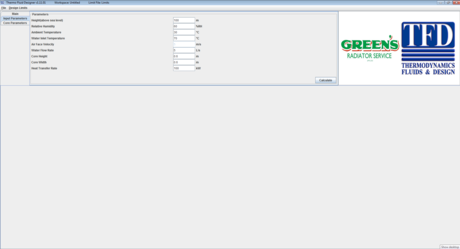
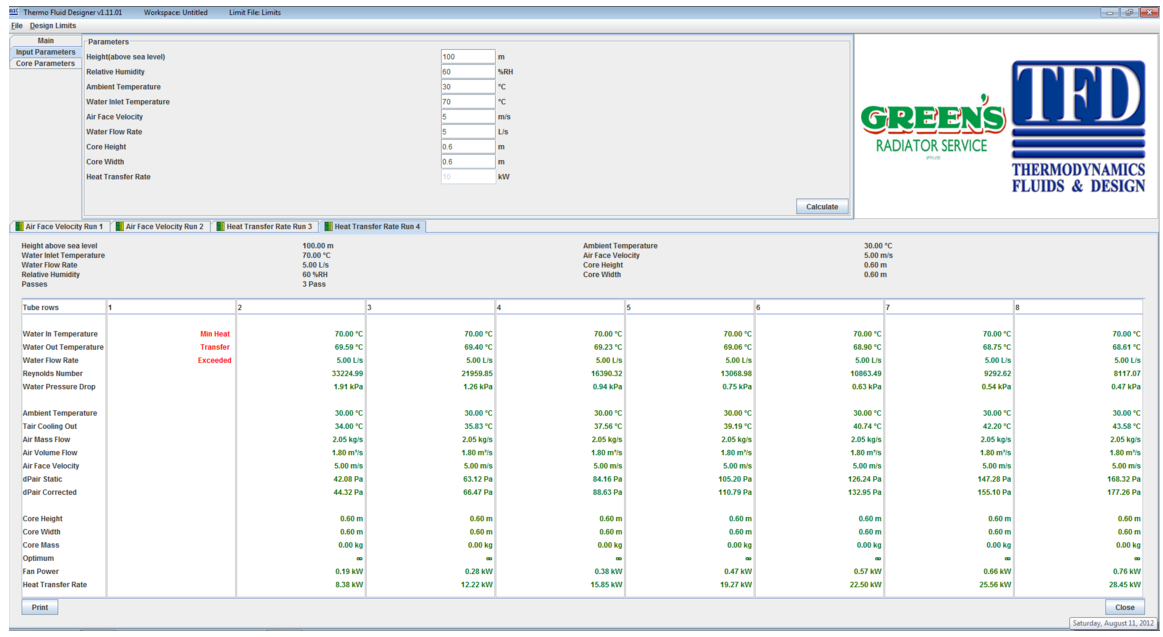
The program has the ability to calculate 1 of 8 parameters given the other 7 parameters. This helps to iteratively tweak and optimize the design. The first image shows the input panel for the remaining variables with the variable to be calculated disabled. Other parameters are also changeable such as the type of radiator eg. Water to Air, Oil to Air or Air to Air, the core type as well as the number of passes.
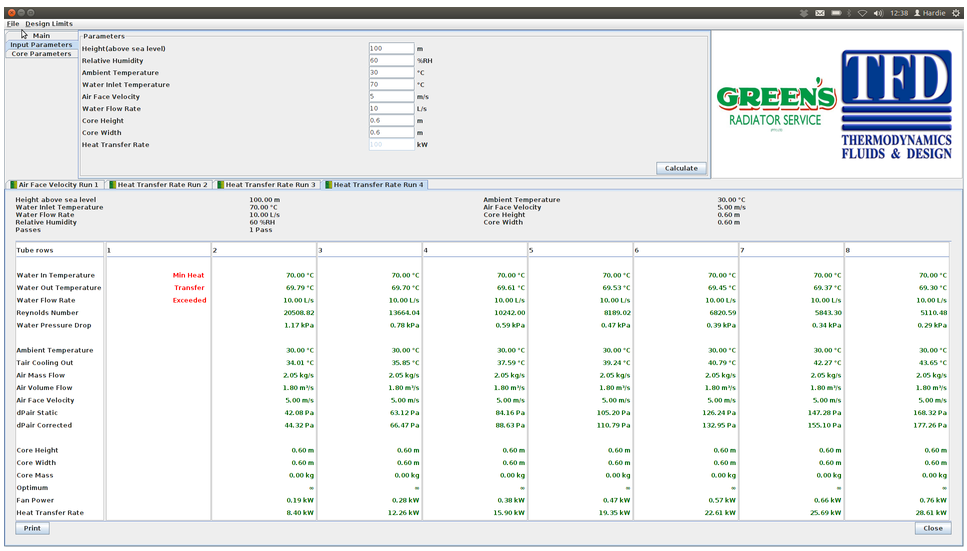
When a calculation is executed on a certain parameter the program outputs the parameter value for different amounts of stacked cores as seen in the second image. If the calculation runs over a specified limit or into an error it gets displayed as seen in the same image.